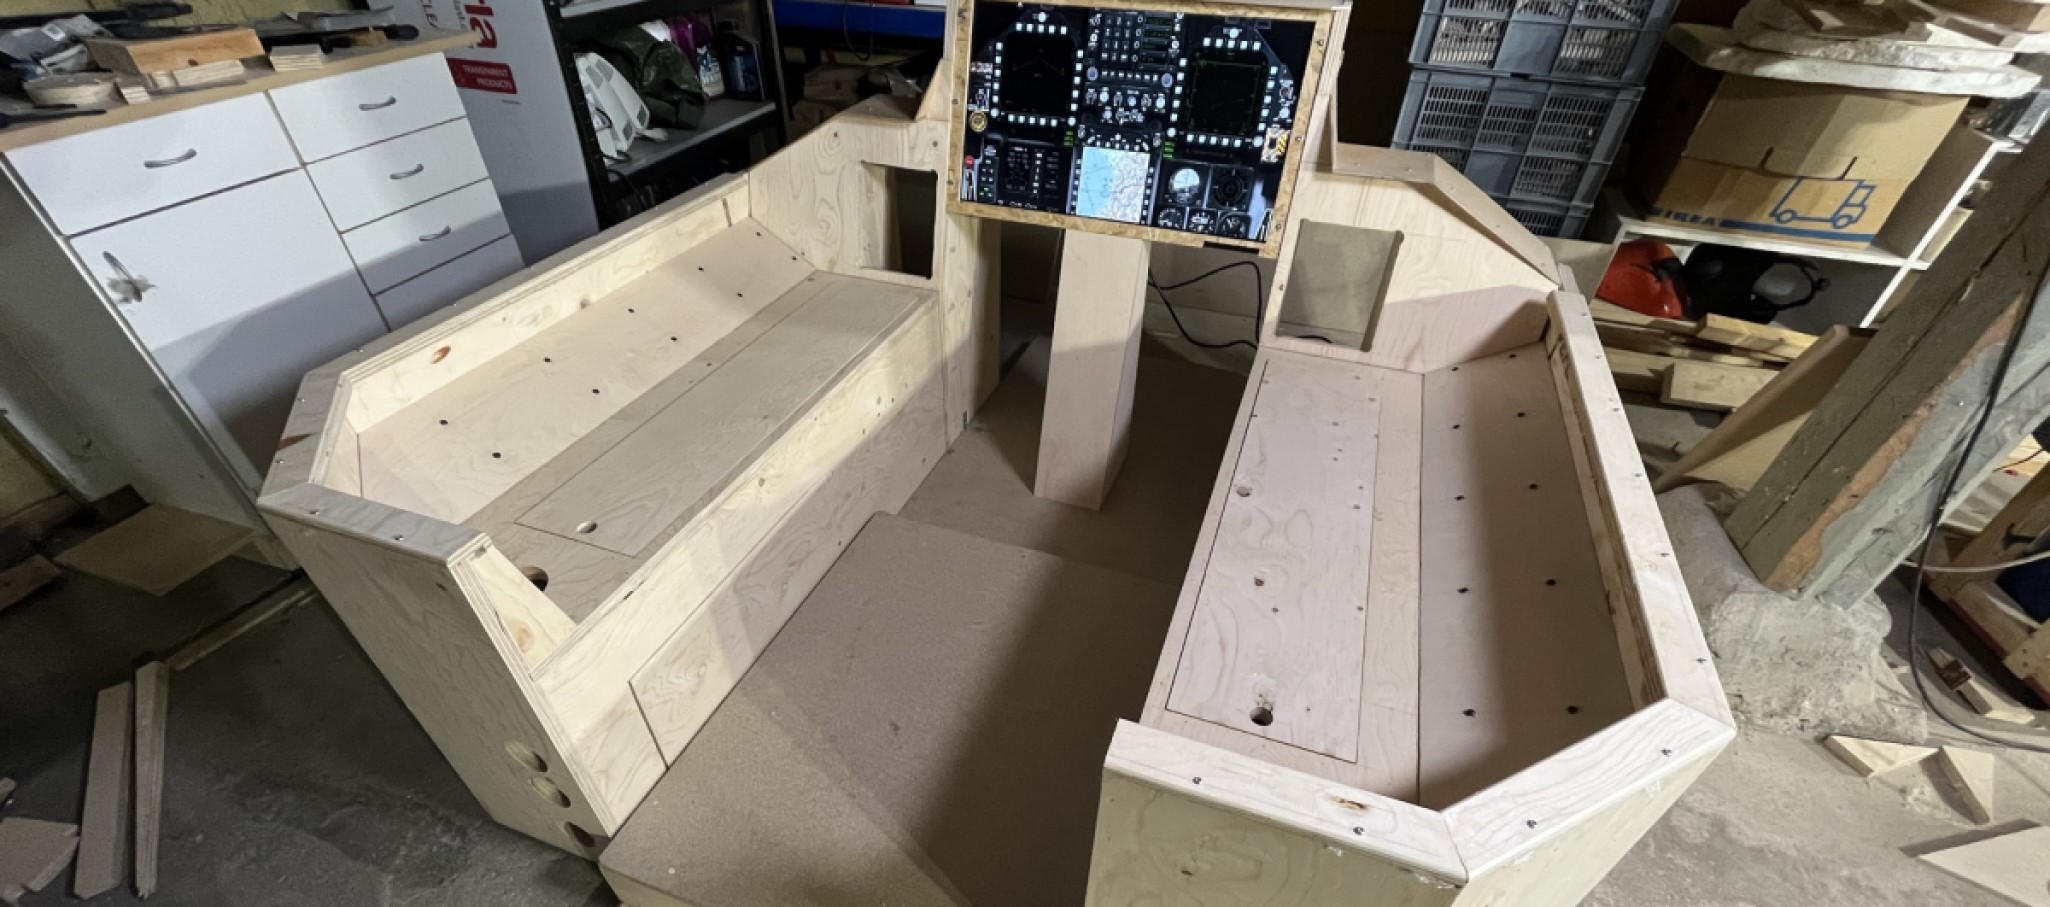
Cockpit frame
The frame is built mostly from four sheets of 21 mm plywood and some other stuff I had lying around in my basement workshop. My most used tool for the project was probably my tracksaw with good set of tracks. For joinery I mostly used pocket holes and a bit of wood glue.
I have total of five videos (plus one for painting) of me building this frame in my Youtube channel so if you want more details, I strongly recommend watching them here.
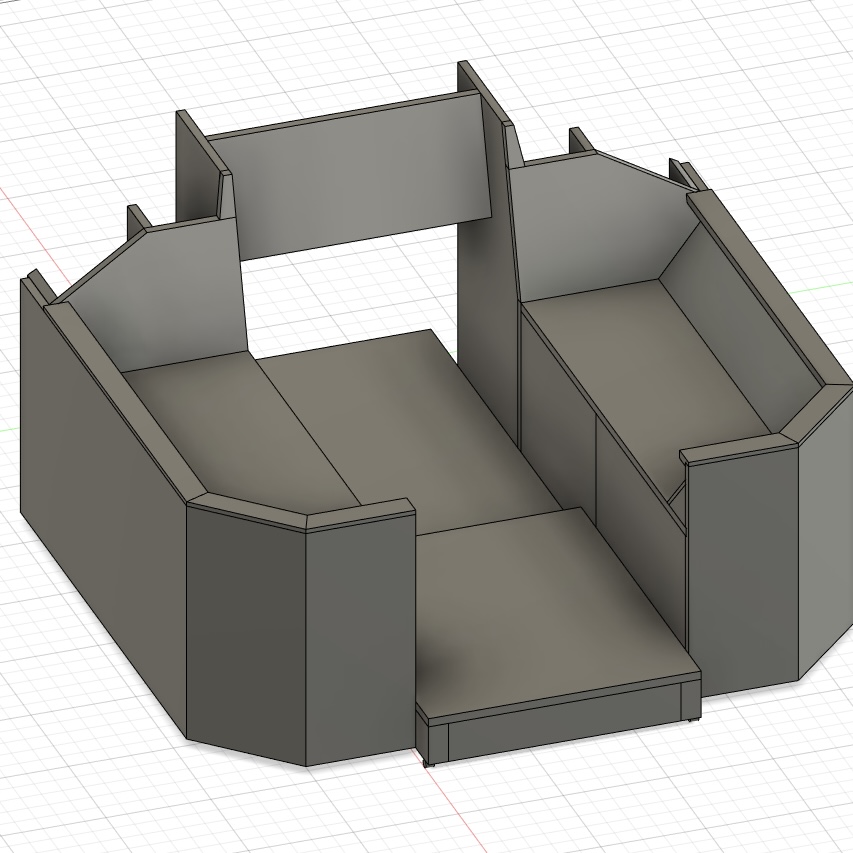
I started this project by designing the basic structure in Fusion 360 (you can download this 3D model here). While the basic dimensions were quite similar as in my previous cockpit, here I concentrated on better usage of space and modularity.
If you’re just starting with woodworking, I would recommend making the side panels just basic boxes instead of anything more complicated.
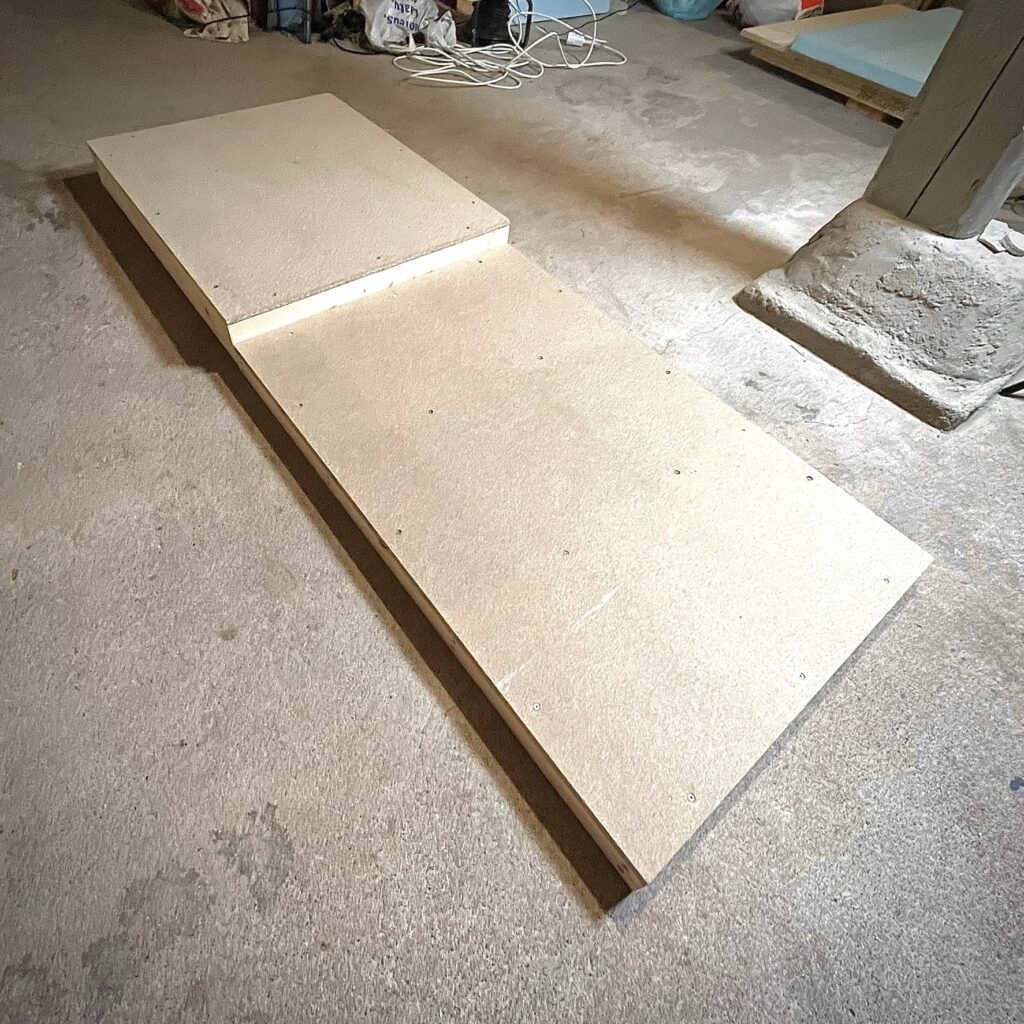
I started the project by building the center plate. The taller one is for chair and has caster under it so I can move it back and forward to get into cockpit.
Here I used an extra sheet that I had as a left-over from my previous cockpit project.
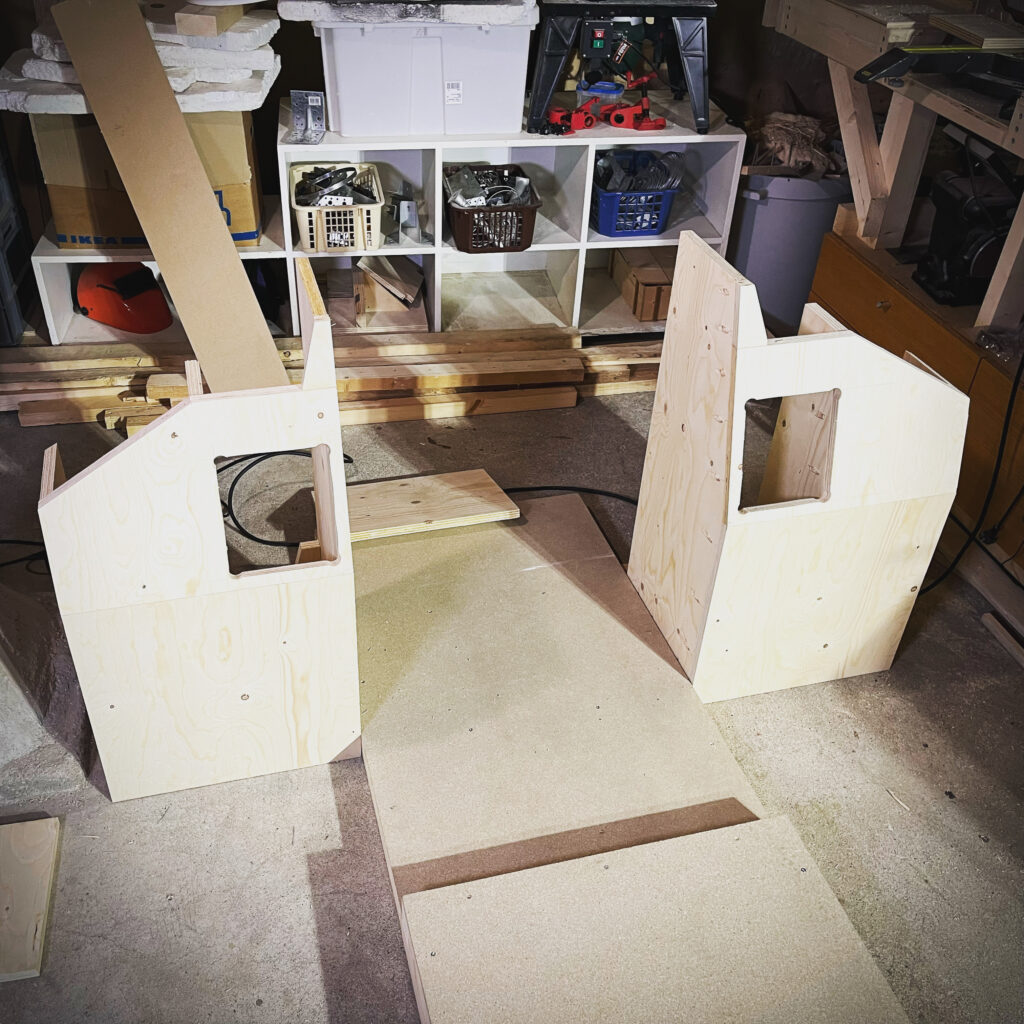
Next I built the front panel. This was already a bit trickier part since the top of the panel is angled by 15 degrees.
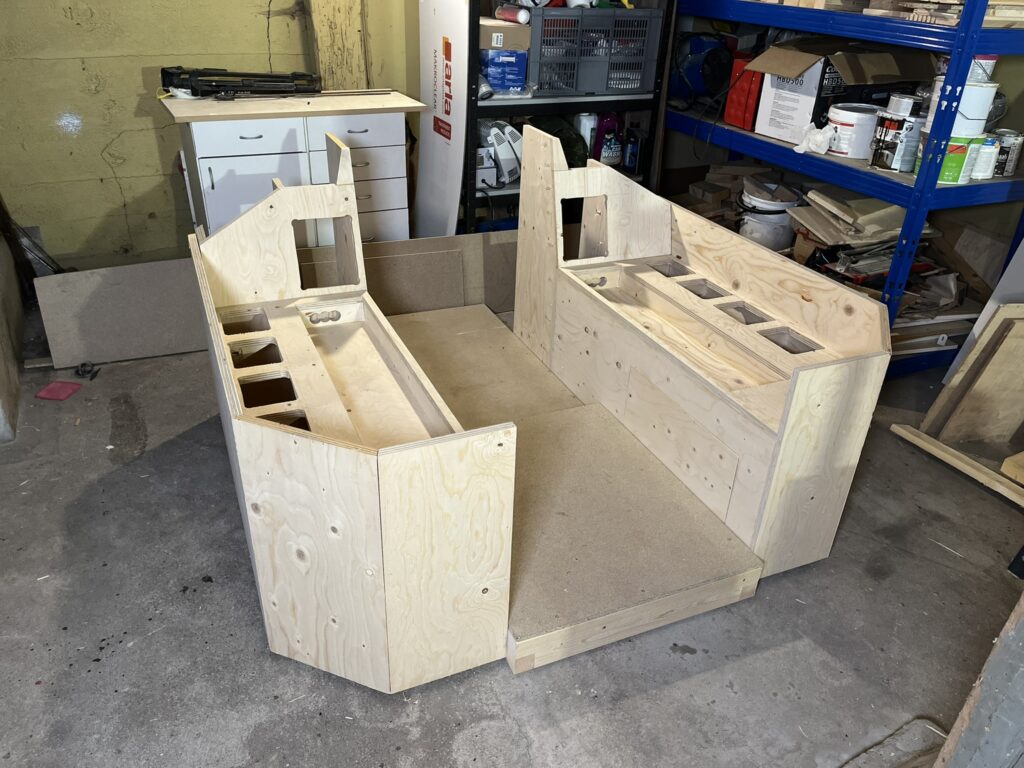
And after the front panels were done, I started building the side cabinets. Here I made some changes that I don’t have in my plans, mainly added the slots on both sides so I can add different modules there.
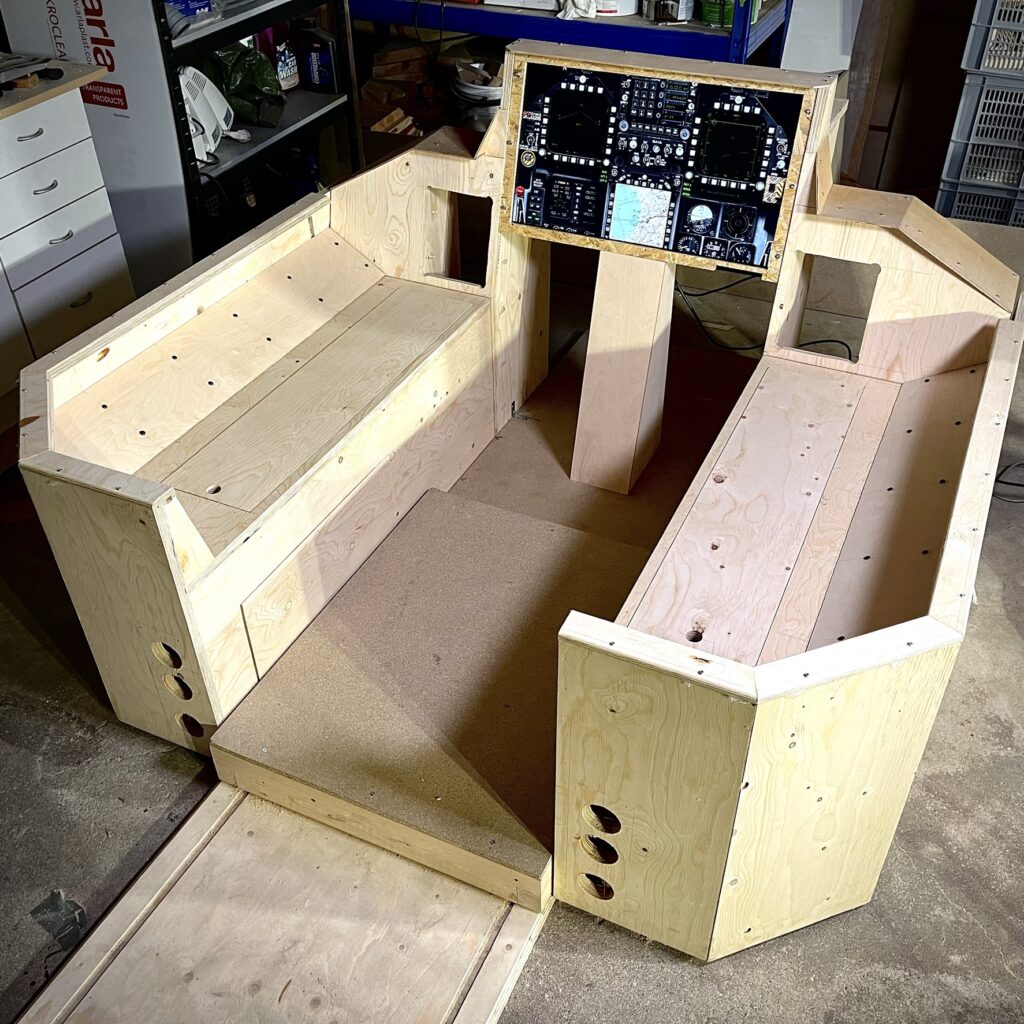
I already started playing DCS a while ago so I realized that I needed taller dashboard display than I had before. So I bought the cheapest 27″ full HD display I was able to find. But at least I was able to fit it in place.
Here I also have added the trims and angled side panels. They were a small challenge since they didn’t have a single 90 degree angle. I just had to trust my 3D model.
Also at this point I added an extra sheet under the chair’s base plate and made grooves that act as tracks for casters.
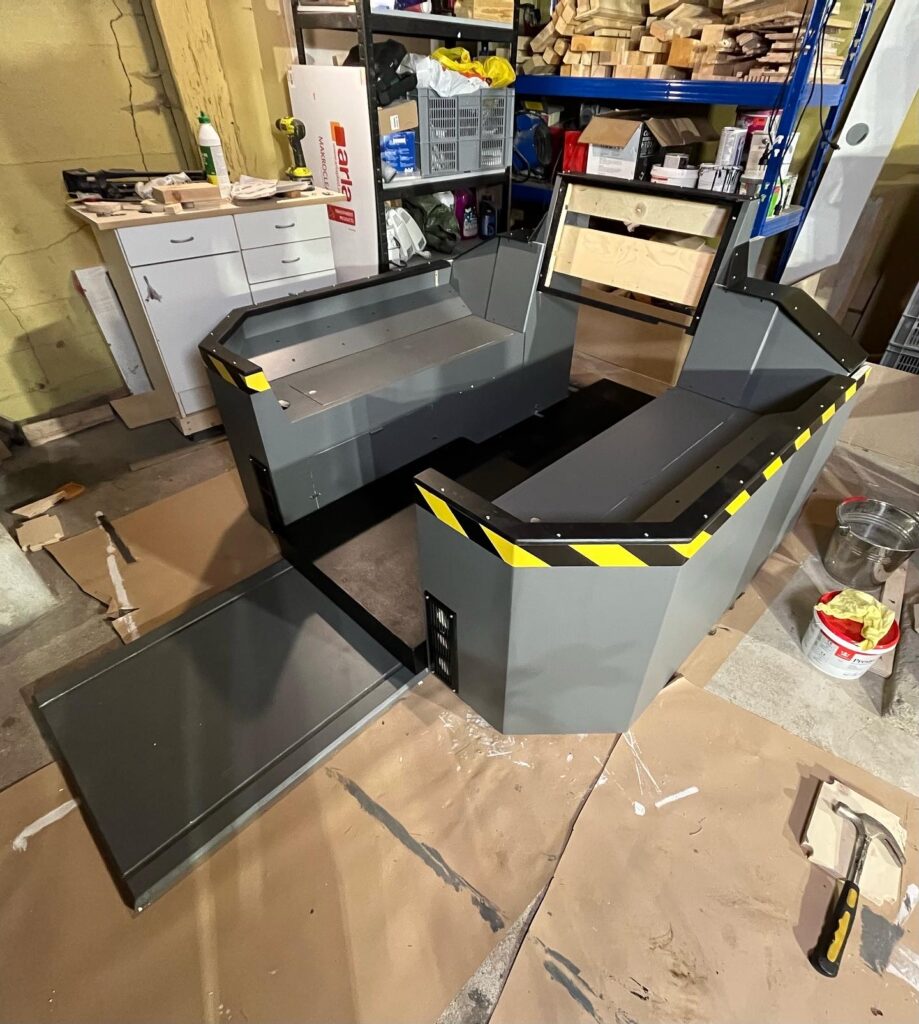
And then it was time for painting. My process was following (I have also video about this step in my channel):
- Filled the worst part with wood filler
- Sanding
- Treated the whole cockpit with universal filler
- Sanding
- Basecoat paint
- Light sanding
- Two coats of grey paint
